How to use Squoosh App from Google
Want to compress images instantly for your upcoming project? Here’s Google’s new picture compression tool Squoosh.App that is currently the best option out there in the market. In this blog, we’ll let you know everything about the Squoosh App, how to use Squoosh for compressing images, and what are the different features of Squoosh.App.
What is Google’s Squoosh.App?
The Squoosh App is an image compression tool that is open-sourced and developed by GoogleChromeLabs. Squoosh is internet based can be accessed on a browser from any device. The tool is free to use for everyone.
The intention behind developing the Squoosh.App helps website owners compress, & optimize images for their website, and improve website performance, & website core vitals.
The image compression app from Google is unique in its user interface. After applying compression, it has a split screen view for the users to check out the difference between the original image and the compressed image, it is noticeable. The images are compressed and optimized such that it is lighter in weight (size) without losing the quality, which is best suited for a website. This makes the tool best for use cases as well.
How to use Squoosh.App from Google.
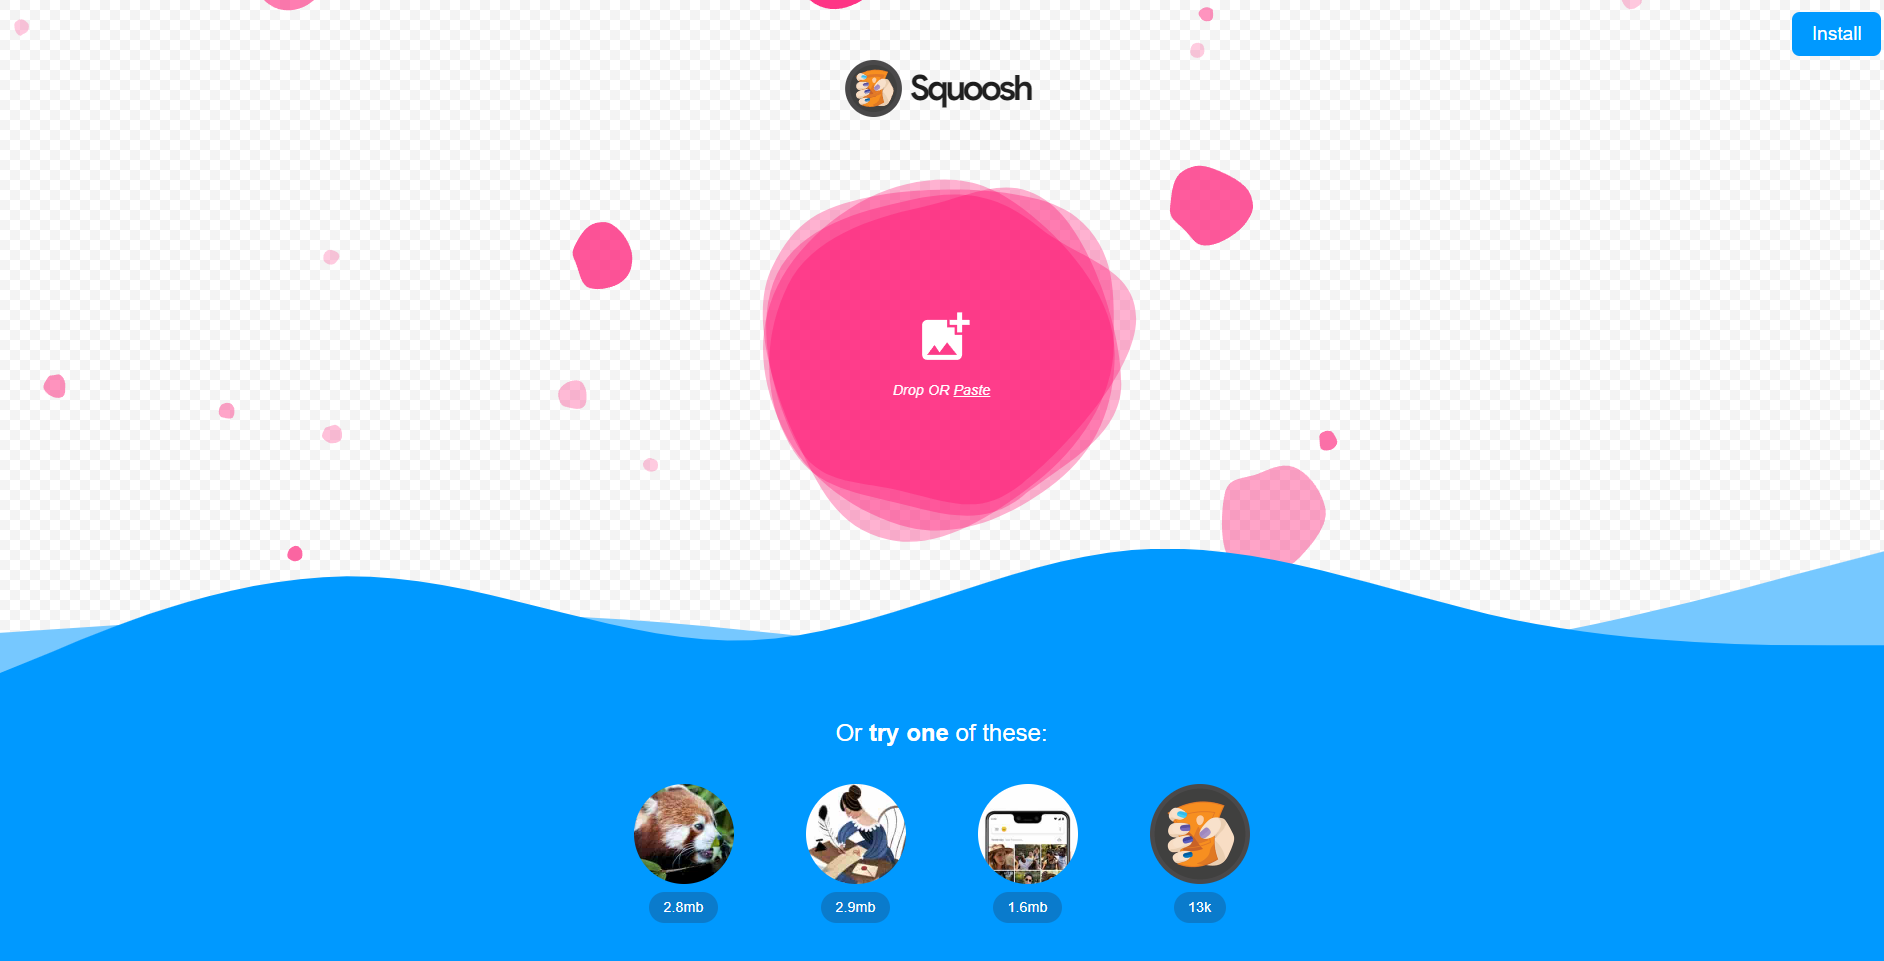
Ready to compress image online on Squoosh.App. The process of compressing the image is simple as just uploading, editing, and downloading the compressed image.
Step 1: You just need to visit the Squoosh Website and upload an image, by either navigating to the image file in your device’s storage or by dragging and dropping the file into the upload window.
(For now Squoosh.App isn’t supported for compressing images in batches, you’ll have to go one by one)
Step 2: After uploading the app will take you to the image editor screen, where the left side of the image is the original image and the right side is the compressed image.
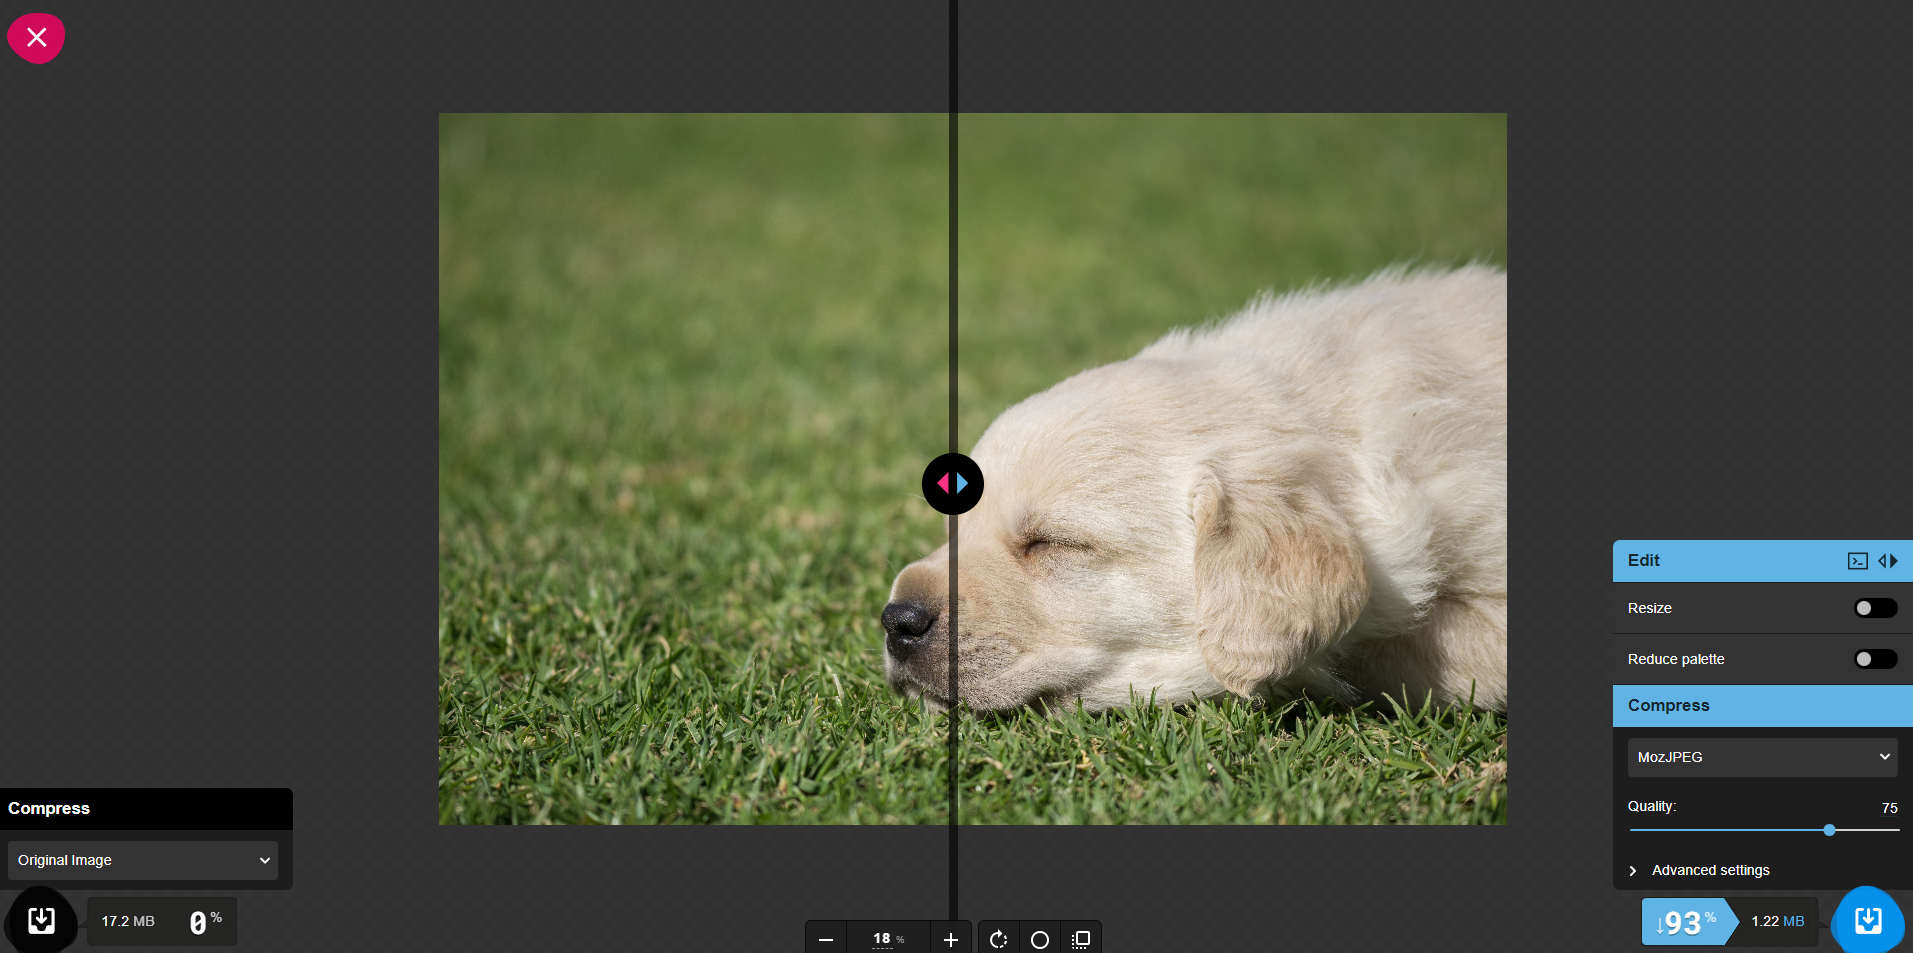
Step 3: By default, the image will be compressed into the best quality possible with a significant compression for the size of the original image. You can move the slider to & fro to check out the difference.
If you are satisfied with the result you can directly download the file by clicking on the download button in the bottom right corner of the screen.
How to Edit Image on Squoosh.App
This is the segment where we explain how to use Squoosh.App to its potential. On the bottom left corner of the screen, you’ll find the editor tab. It has many options, lets’ go on to them one by one.
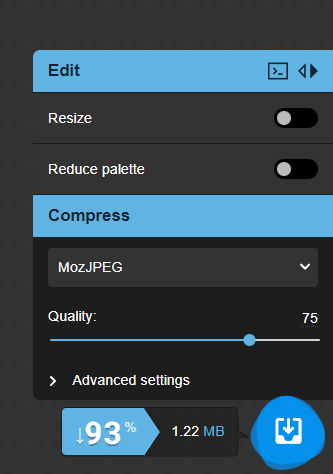
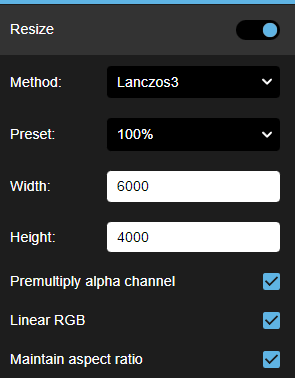
Resize toggle: When you enable this tab, you’ll find a host of options to resize the image. For starters, you can choose between different methods of resizing the image, and apply different presets. Define the Width & Height, change the aspect ratio & much more.
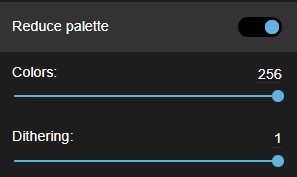
Reduce Palette: This tab enables changing the color saturation of the image & change the noise level in the image with dithering.
Compress: This is where you can change the quality of the image, and choose from different formats for the image.
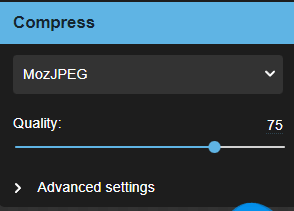
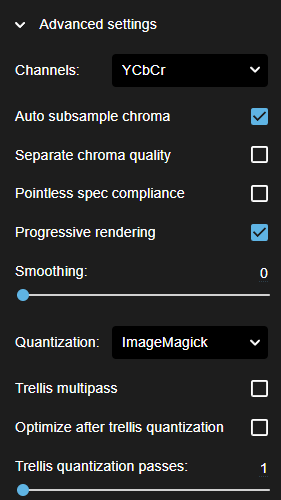
Advance Setting: This tab for more changes to the compression and take it to the next level, as the name suggests this tab is more aligned with the experts.
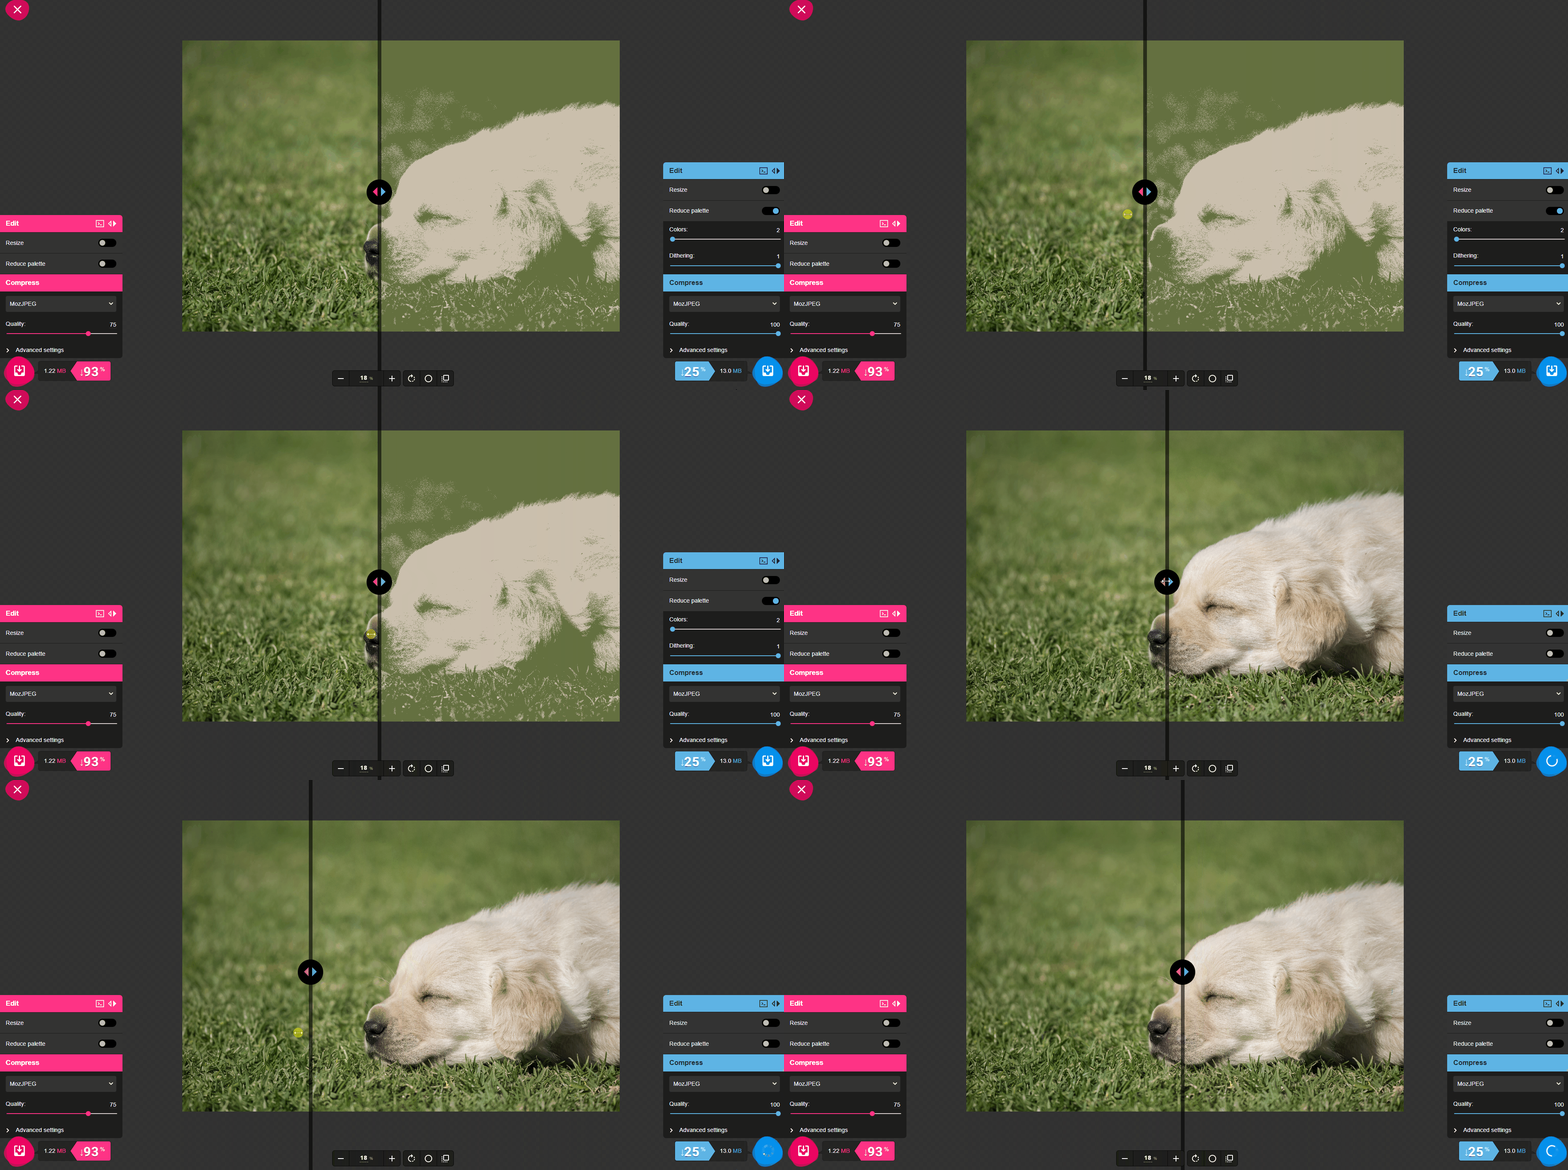
You can also make changes to the left side of the slider by clicking the small arrow icon on the blue tab on the right side edit tab. After clicking it will enable the left-side edit tab. Now you can make different changes on the left side and compare the two different compressions.

Zoom, Rotate, & more: The center tab is where you can zoom on the editor, rotate the image, toggle the background, and toggle smoothing.

You can use the slider and compare the best option and download which suits best for your use case.
And that is it now you know how to compress image online with Squoosh App. This open-source image compression tool is among the best tools available right now. Squoosh.App assists you to compress images with websites & different work cases while maintaining high quality.
There's more you can do with Images
As you know Images are everywhere and they have become a way of communication in the digital world. Just like textual content for better understanding, it is critical that the text in the image should also be translated into different languages for better understanding.
For manual translation or redesigning the image into a different language, your team will have to coordinate between graphic designers & translators. & that becomes a hectic and time-consuming Task.
But there's a solution
Now you can translate image online into 40+ different languages in a bulk with ImageTranslate.
ImageTrnslate is the only picture translation tool that can translate the text in the image and recreate the same image in under 30 seconds. It also has many editing features where the user can edit the translated text, change font, size, font color, alignment, and much more.
Here's an example of an Image Translated from one language to another.
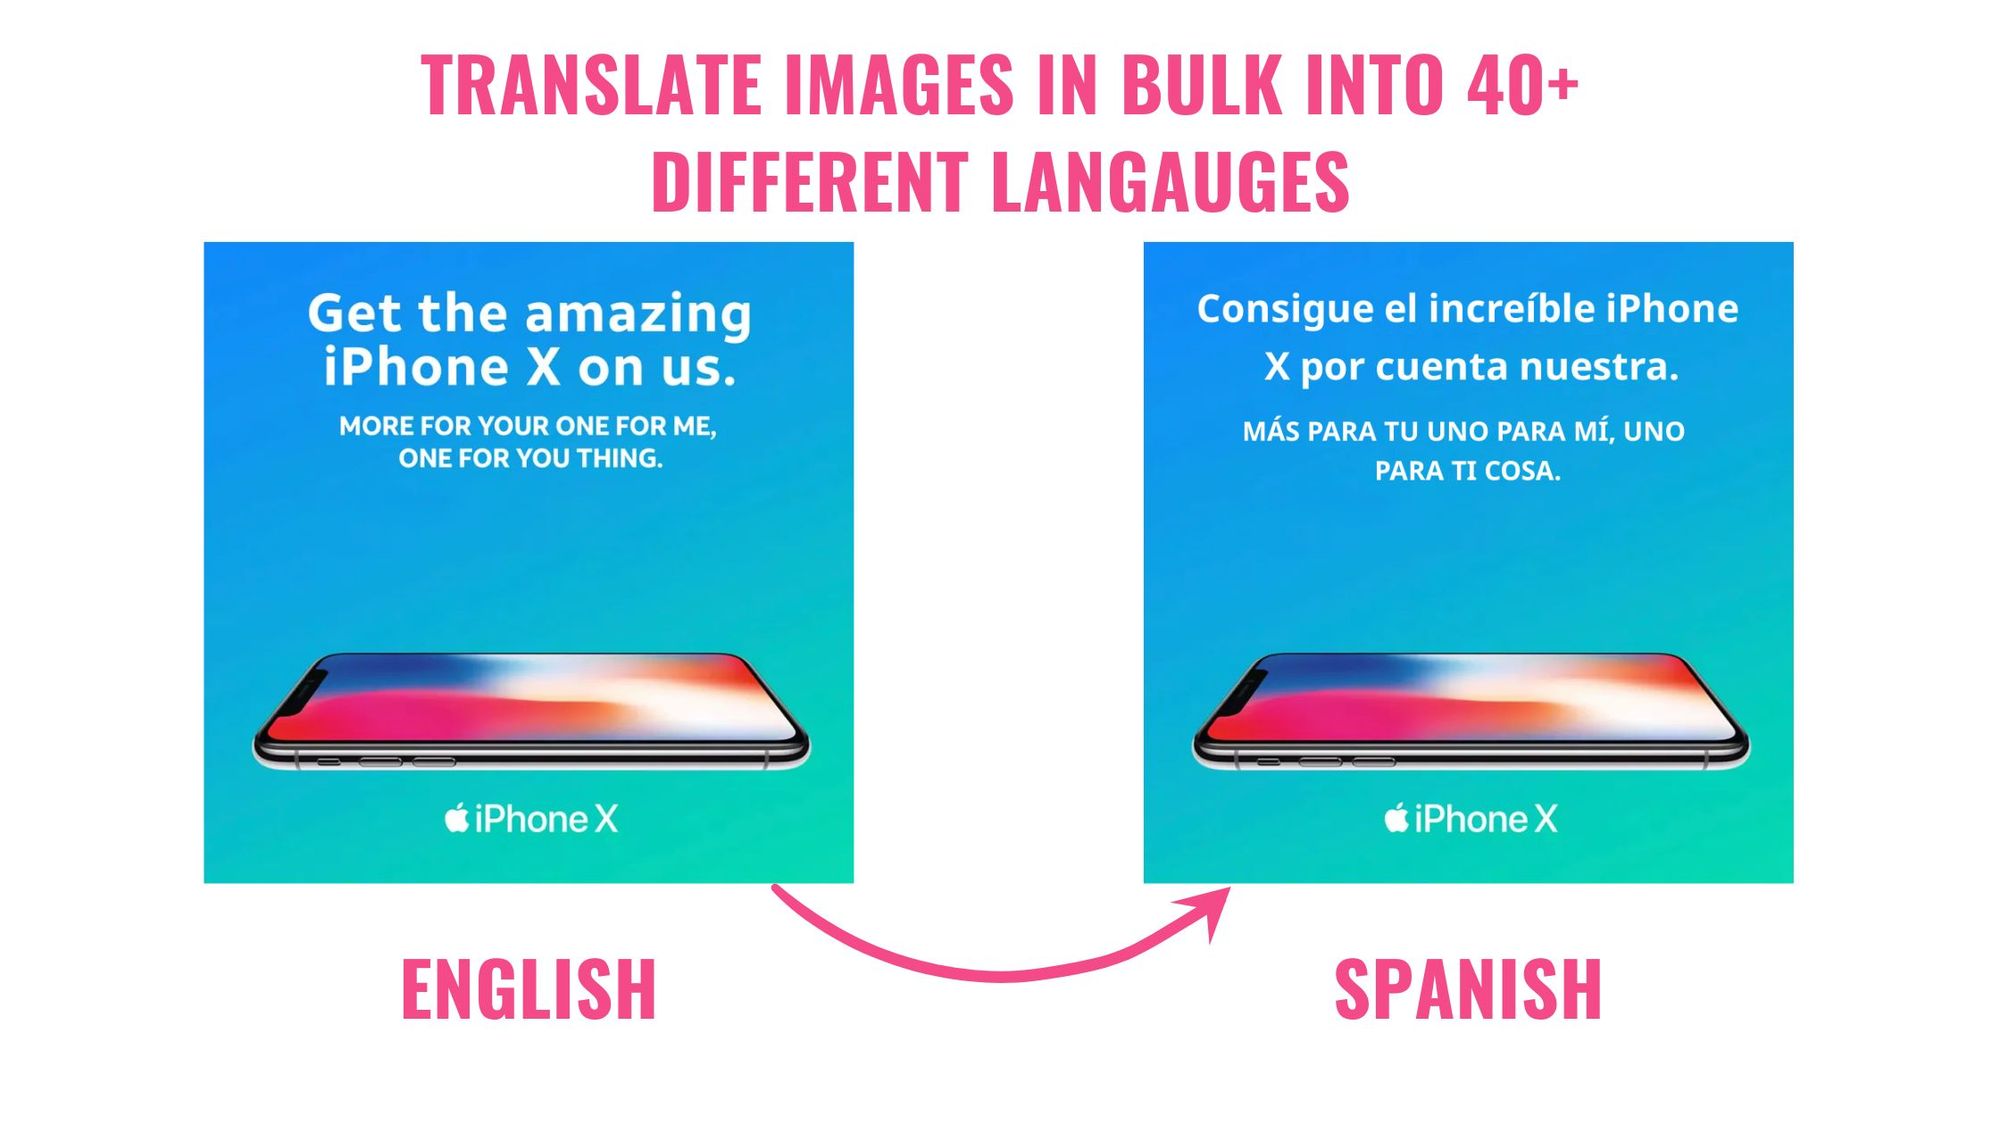
ImageTranslate works best with Translating Product Images, Translating Social Media posts, product manuals, PDF Documents, Translate Scanned Documents, Translate Ads & much more.
ImageTranslate also has an API where you can embed its capabilities for your website easily, and seamlessly translate images on websites.
Check out ImageTranslate.com & try it out for free.
Check out a quick video on How to translate image

